
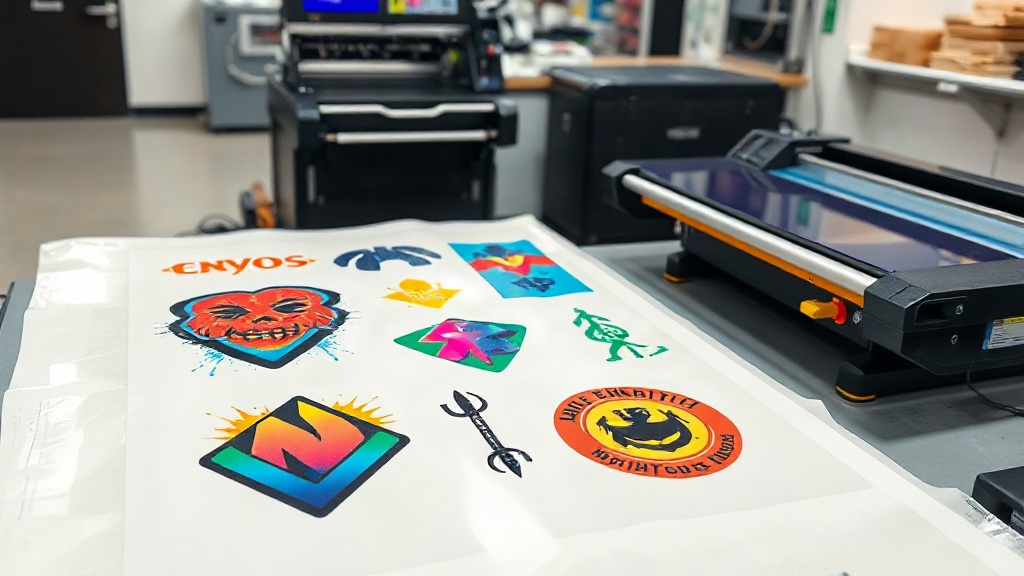
If you're in the custom apparel business, you've probably heard about DTF printing. It's a game-changer for vibrant, durable transfers on various fabrics. But did you know you can take your efficiency to the next level with DTF gangsheets? These large, consolidated sheets allow you to print multiple designs in one go, saving time, money, and reducing waste. In this guide, we'll dive deep into what gangsheets are, why they matter, and how to master them for your shop.
What Exactly Is a DTF Gangsheet?
A DTF gangsheet is essentially a large sheet of transfer film that contains multiple designs arranged together. Instead of printing one design at a time, you fill the sheet with various graphics, maximizing the use of your printer's width. Think of it as a digital version of gang printing in traditional offset printing, where multiple jobs are combined on one sheet to save resources.
With DTF technology, you print your designs onto a special film using a DTF printer, apply adhesive powder, and then cure the ink. The gangsheet approach means you can print a mix of sizes and designs, from small logos to large back prints, all on one continuous roll or sheet. Once printed and cured, you can cut out each design and apply them as needed. This method is particularly popular among print shops that handle a high volume of varied orders.
Why Use DTF Gangsheets? The Benefits Unpacked
If you're still printing one design per sheet, you're likely wasting time and materials. Here's why gangsheets are a smart move:
- Time Efficiency: Printing multiple designs in one pass drastically reduces printer time. You can set up a gangsheet with dozens of designs, hit print, and walk away. No more constant back-and-forth for each order.
- Cost Savings: DTF film and ink are not cheap. By maximizing the sheet area, you use less film per design, lowering your cost per transfer. Plus, less printer time means lower electricity and maintenance costs.
- Consistency: When you print multiple designs together, they go through the same conditions (heat, pressure, ink density), ensuring consistent quality across the board.
- Reduced Waste: Leftover film from small jobs can't be reused easily. Gangsheets minimize waste because you're filling the space efficiently.
- Scalability: As your business grows, gangsheets allow you to handle larger orders without upgrading equipment. You can produce more in less time.
But it's not just about speed and cost. Gangsheets also open up creative possibilities. You can experiment with different layouts, nest designs to fit odd shapes, and even offer custom gangsheet services to other shops.
How to Create a DTF Gangsheet: Step by Step
Creating a gangsheet might seem daunting, but with the right approach, it becomes second nature. Here's a breakdown:
1. Choose the Right Software
Most DTF printers come with RIP (Raster Image Processor) software that includes gangsheet tools. Popular options include Cadlink, Wasatch, and printer-specific software. These allow you to import multiple images, arrange them, and set the sheet size. Alternatively, you can use design software like Photoshop or Illustrator to manually create a layout, but RIP software is more efficient for production.
2. Plan Your Layout
Before you start dragging and dropping, consider the following:
- Sheet Size: Know your printer's maximum width (often 13", 17", or 24") and the length you want. You can print continuous rolls or cut sheets.
- Design Sizes: Group similar sizes together. For example, place all small left-chest logos in one area and large back prints in another.
- Spacing: Leave at least 0.25 inches between designs to allow for cutting and to prevent ink bleeding. Some RIP software automatically adds spacing.
- Nesting: Rotate and nest designs to fill gaps. Irregular shapes can fit together like puzzle pieces.
3. Arrange and Optimize
Use your software's auto-arrange features if available, but don't rely solely on them. Manual tweaking often yields better space utilization. Aim for at least 80% coverage to make the gangsheet worthwhile. Remember, the goal is to minimize unused film.
4. Print, Powder, and Cure
Once your gangsheet is ready, send it to the printer. After printing, apply hot melt adhesive powder evenly, shake off excess, and cure under a heat press or tunnel dryer. Follow your ink and powder manufacturer's recommendations for temperature and time.
Common Pitfalls and How to Avoid Them
Even seasoned pros run into issues. Here are some common mistakes and solutions:
- Overcrowding: Trying to fit too many designs can lead to cutting errors and ink smudging. Leave adequate space.
- Inconsistent Powder Application: Uneven powder leads to poor adhesion. Use a powder shaker or automatic powder machine for consistency.
- Incorrect Curing: Under-curing causes washes out; over-curing makes transfers brittle. Invest in a good heat press with accurate temperature control.
- Ignoring Film Orientation: DTF film has a printable side. Printing on the wrong side ruins the sheet. Always check.
- Not Testing: Before printing a full gangsheet, do a small test print to check colors and adhesion.
Advanced Tips for DTF Gangsheet Masters
Ready to elevate your game? Try these advanced strategies:
- Bulk Orders: Create gangsheets with multiple copies of the same design for large orders. This is perfect for team uniforms or event merch.
- Mixed Materials: Print designs for different fabric types on one sheet. Since DTF works on cotton, polyester, and blends, you can serve diverse clients in one go.
- Inventory Gangsheets: Pre-print popular designs as gangsheets and keep them in stock. When an order comes in, you just cut and press, reducing turnaround time.
- Software Shortcuts: Learn keyboard shortcuts and macros in your RIP software to speed up layout creation.
- Quality Control: After curing, inspect each design for defects. Mark and reprint any flawed ones on the next gangsheet.
Frequently Asked Questions About DTF Gangsheets
What is the maximum size for a DTF gangsheet?
The maximum size depends on your printer's width and the length of the film roll. Common widths are 13", 17", and 24". Length can be continuous, but practical limits are around 100 feet for roll-to-roll printers. For cut sheets, you can go up to the length of the film you purchase.
Can I mix different designs with varying ink coverage on one gangsheet?
Yes, but be mindful of curing. Designs with heavy ink coverage may require more powder and slightly different curing times. It's best to group similar coverage together or adjust powder application accordingly. Testing is key.
How do I prevent film from curling during printing?
Film curling often happens due to static or improper tension. Ensure your printer's feed system is clean and tension is set correctly. Using a film with anti-static coating can also help. Additionally, store film in a dry, flat area.
Is it cost-effective to create gangsheets for small orders?
For very small orders (e.g., one or two designs), a gangsheet might not be necessary. However, if you can combine multiple small orders or pre-print inventory, it becomes cost-effective. The savings come from maximizing film usage and printer time.
What's the best way to cut a DTF gangsheet?
Use a sharp pair of scissors or a rotary cutter for straight lines. For intricate designs, a vinyl cutter with a contour cut feature can be used, but you'll need to create cut lines in your design file. Always cut after curing, not before.
Mastering DTF gangsheets is a journey, but the payoff is immense. By implementing these strategies, you'll streamline your production, reduce costs, and deliver high-quality transfers faster. Start experimenting with your layouts today and watch your efficiency soar. For more tips and high-quality DTF supplies, visit dtfmaxpro.com.