
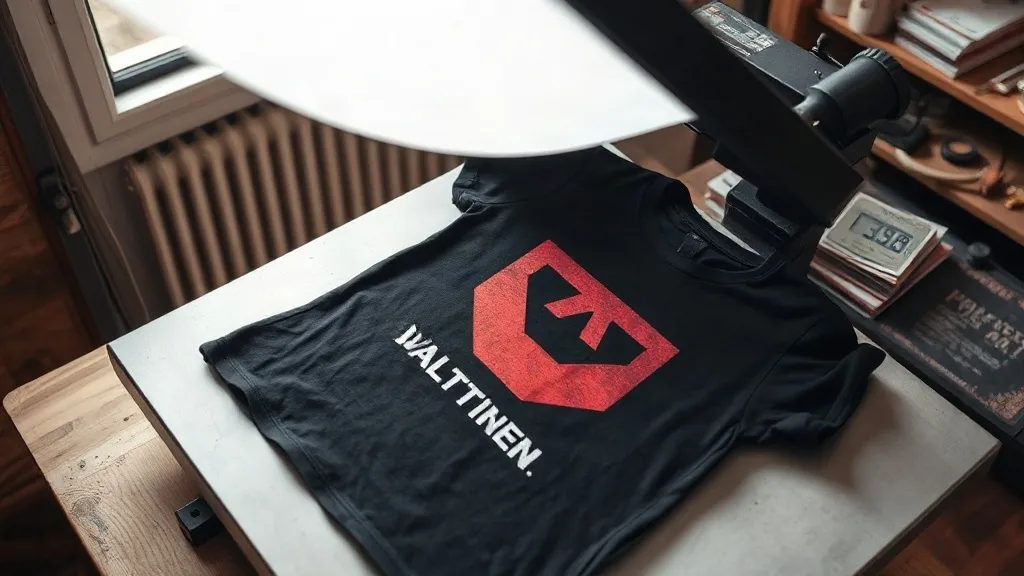
Most people who try dtf transfers for the first time do everything right on paper and still end up with a print that cracks after two washes. The culprit is rarely the film itself. It is usually a small mismatch somewhere in the chain: a file saved in the wrong color space, a press that reads hotter than it actually is, or a peel done a few seconds too early. This guide walks through the parts of the process that actually decide whether a transfer survives, based on the kind of trial and error that happens in small print shops every week.
If you are still deciding where to buy supplies, it helps to start with a source that documents its film and powder specs, since consistency between orders matters more than most beginners expect. You can browse a full range of dtf transfers to see how sizing and finish options are typically presented before you commit to a workflow.
What Actually Happens Inside a DTF Transfer
A DTF print is a layered structure, not a single sheet of ink. Pigment inks are printed onto a PET film, then a hot-melt adhesive powder is applied while the ink is still tacky. When the powder melts and cures, it becomes the layer that bonds to fabric. That means three things have to go right: the ink has to be dry enough, the powder has to be applied evenly, and the cure has to be complete. Skip any one of those and the transfer will look fine on the press and fail later.
Why the Powder Layer Matters More Than the Ink
People spend hours tuning color profiles and almost no time thinking about powder. In practice, an uneven powder coat is the most common cause of a transfer that peels at the corners. Too little powder and the adhesive cannot anchor to the fabric. Too much and the excess cures into a stiff, crusty edge that cracks instead of stretching. The sweet spot is a thin, even dusting with no visible clumps, shaken off gently before curing.
Humidity is the quiet variable here. Powder absorbs moisture from the air, and damp powder cures unevenly. If your shop sits above roughly 60 percent relative humidity, store powder in a sealed container with a desiccant pack and reseal it immediately after each use.
Preparing Files That Press Cleanly
Artwork problems tend to hide until the transfer is on a shirt. A few habits prevent most of them.
- Work at 300 DPI at final print size, not at some larger size you plan to shrink later.
- Keep fine detail above roughly 1 mm; thinner lines can break up during powder application.
- Convert spot colors deliberately rather than letting the RIP guess, especially for brand colors.
- Add a small bleed to full-bleed designs so edge registration is forgiving.
- Mirror the artwork before printing, and double-check the preview rather than trusting memory.
One detail that surprises people: white ink is not optional on dark garments, and it needs its own coverage settings. A design that looks rich on a white shirt can appear washed out on black if the white underbase is too thin. Print a small test strip on scrap film whenever you change garment color, and keep those strips labeled. A physical reference library saves far more time than re-reading settings notes.
Choosing the Right Film for the Job
Not all film behaves the same. Thinner films release more easily and feel softer on the garment, which matters for lightweight tees and anything worn against the skin. Heavier films tolerate more heat and are more forgiving for beginners. If you are printing a large back panel, a film with good dimensional stability will resist curling at the edges during powder application, which in turn reduces waste.
Press Settings You Can Actually Trust
Every press reads temperature differently. A press set to 160°C might be running at 150°C on the platen surface, and that 10-degree gap is enough to cause a cold peel failure. An inexpensive infrared thermometer is the single most useful tool in a DTF setup, because it tells you what the platen is really doing.
As a starting point for cotton and cotton blends, most shops work in the range of 150 to 160°C for 10 to 15 seconds at medium pressure for the transfer step, then a second press of 5 to 10 seconds after the film is removed. Treat these as a starting line, not a rule. Polyester needs lower temperatures and shorter dwell times because the fabric itself is heat sensitive and can develop a sheen or dye migration if pushed too hard.
Cold Peel or Hot Peel
Cold peel means letting the transfer cool completely, usually 30 seconds or more, before removing the film. It gives sharper edges and is more forgiving if your pressure is slightly off. Hot peel is faster and suits high-volume work, but it demands consistent pressure and a well-calibrated press. Pick one method, document it, and train everyone on the same routine. Mixing methods across a shift is a reliable way to produce inconsistent results that are hard to diagnose later.
Matching Transfers to Fabric
DTF is unusually versatile, which is also why people overestimate it. It adheres well to cotton, polyester, blends, and most synthetics, and it handles curved seams and hard-to-embroider areas better than many alternatives. It does less well on fabrics with heavy silicone finishes, water-repellent coatings, or very loose knits where the adhesive cannot reach enough surface area.
When someone asks about dtf transfers near me, the practical answer usually involves local turnaround and the ability to test on the actual garment before committing to a run. A quick press test on an offcut of the customer's fabric takes two minutes and prevents an entire order from failing. Nylon jackets and coated outerwear are the classic offenders; always test before quoting.
Stretch and Recovery
Stretch fabrics expose weak adhesive coverage faster than anything else. If a transfer cracks when you pull the fabric gently, the powder layer is too thin or the cure was incomplete. Increasing pressure slightly and confirming dwell time usually resolves it. If it persists, the film may be too heavy for that fabric, and switching to a thinner film is the better fix than pressing harder.
Wash Durability: What to Expect and How to Improve It
A properly applied transfer on compatible fabric should hold up through dozens of home wash cycles. Failures usually trace back to one of four causes: incomplete cure, insufficient pressure, powder inconsistency, or the wrong fabric. Before blaming the film, run a controlled test. Press three identical transfers with one variable changed at a time, wash them together at 40°C, and compare after five cycles. This small experiment tells you more than any troubleshooting chart.
For customer-facing work, print care instructions on the garment tag or include a card. Wash inside out, avoid fabric softener on the printed area, and skip the tumble dryer on high heat. These are simple habits that extend the life of any heat-applied decoration.
Common Problems and Their Real Causes
- Edges lifting after washing: uneven powder, or pressure too low at the edges of a large design.
- Cracking across the print: over-cured adhesive that has become brittle, often from too high a temperature.
- Patchy, dull color: white underbase too thin, or ink not fully dried before powdering.
- Film sticking to the press: too hot, or the transfer was placed print-side down by mistake.
- Stiff, plastic feel: too much powder, or a film heavier than the fabric requires.
Building a Repeatable Workflow
The shops that get consistent results are not using secret materials. They have written down their settings, they check platen temperature weekly, they store powder properly, and they test new garments before quoting. A simple log sheet with date, fabric, film type, temperature, time, pressure, and peel method turns guesswork into a process you can improve. Once that exists, training a new team member takes an afternoon instead of a month.
Start small, test deliberately, and let the wash test be your judge. That approach will get you further with dtf printing than any single piece of equipment.
Frequently Asked Questions
How long should I wait before washing a freshly pressed DTF transfer?
Waiting 24 hours is a sensible habit. The adhesive continues to settle as it cools, and giving it time before the first wash reduces the chance of edge lifting. If a customer needs the garment immediately, mention that the first wash should be cold and inside out.
Can DTF transfers be applied to 100 percent polyester without dye migration?
Usually yes, if you keep the temperature lower and shorten the dwell time. Dark polyester is the risky case, since sublimated dyes can migrate into the adhesive under heat. Test on an offcut first, and consider a lower-temperature film if migration appears.
Why does my transfer look dull right after pressing?
Dullness is often a sign of incomplete cure or a white underbase that is too thin. Press the transfer a second time for a few seconds after peeling, and check that the ink was fully dry before powder was applied. If the design sits on a dark garment, increase the white layer.
Do I need different settings for large designs versus small ones?
Large designs need more attention to even pressure across the whole area. A press with a slightly uneven platen can leave the outer edges underbonded while the center tests fine. Check the corners of a large print first when diagnosing failures.
Is DTF suitable for small orders and one-off custom pieces?
It is one of the better options for short runs. There is no screen setup cost, gang sheets let you fill unused space with small designs, and the same workflow handles one piece or fifty. That flexibility is why it has become common in custom apparel shops.