
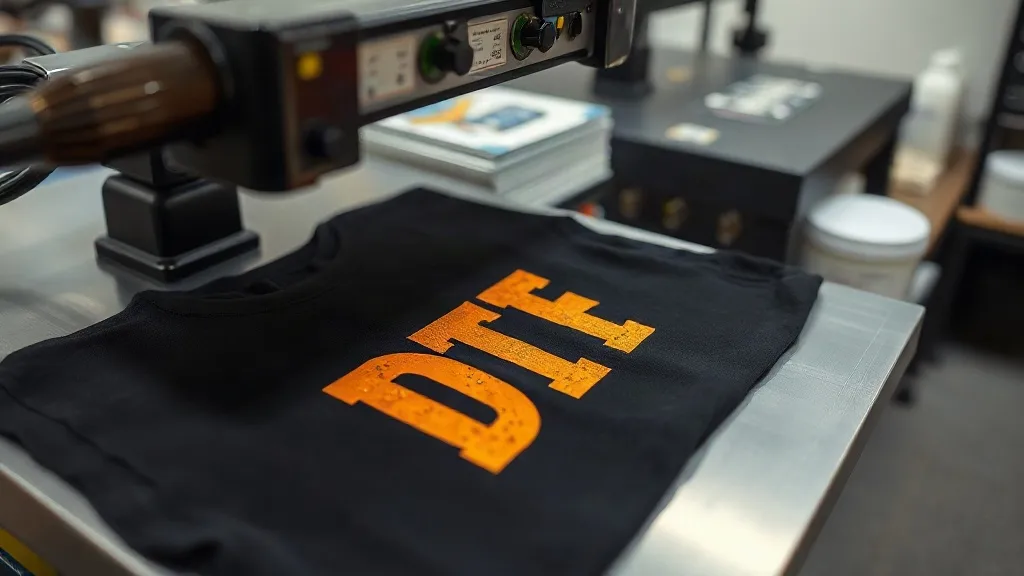
When you first dive into the world of dtf transfers, it can feel like there's a secret handshake you're not privy to. You've seen the stunning, full-color designs that seem to pop off the fabric, and you want a piece of that action. But between the films, powders, and presses, the process can seem daunting. The truth is, achieving flawless dtf prints isn't about magic; it's about understanding the variables and mastering a few critical steps. This guide is designed to walk you through the entire process, from choosing the right materials to troubleshooting those frustrating misprints, so you can produce professional-grade results consistently.
The Core of DTF: Understanding the Technology
Before we get into the nitty-gritty, let's clarify what DTF actually is. Direct-to-Film printing is a method where your design is printed onto a special film, dusted with a hot-melt adhesive powder, and then heat-pressed onto the fabric. Unlike DTG (Direct-to-Garment) or screen printing, DTF doesn't require pre-treatment of the garment, and it works on a huge range of materials, including cotton, polyester, blends, and even some nylons. This versatility is why DTF has exploded in popularity among small shops and hobbyists alike.
The magic happens at the powder stage. The adhesive powder melts into the ink, creating a flexible, durable layer that bonds to the fabric under heat. The quality of your final print hinges on every step: the film, the ink, the powder, the curing, and the pressing. Get one wrong, and you'll see it in the wash test.
Choosing the Right Film and Powder
Not all DTF films are created equal. There are cold-peel and hot-peel films, each with its own advantages. Cold-peel films are more forgiving and are great for fine details, while hot-peel films can speed up production. For beginners, I recommend starting with a cold-peel film because it's less likely to stretch or distort when you remove it from the transfer. As you gain confidence, you can experiment with hot-peel to increase efficiency.
When it comes to powder, you'll find two main types: fine and coarse. Fine powder is ideal for intricate designs and smaller text, as it penetrates the ink more evenly and leaves a softer hand feel. Coarse powder is better for large, solid areas because it provides a thicker adhesive layer that can handle more stretch. Always store your powder in a dry, airtight container; moisture is the enemy of a good bond.
Film Selection: Cold-Peel vs. Hot-Peel
Cold-peel film requires you to wait until the transfer is completely cool before peeling. This slower process allows the ink and powder to set properly, reducing the risk of cracking. Hot-peel film, on the other hand, is peeled while still warm, which can save time but requires a steady hand and consistent pressure. If you're just starting out, cold-peel is more forgiving and helps you avoid common mistakes like uneven edges or lifted powder.
Step-by-Step: The DTF Transfer Process
Now that you have your materials, let's walk through the process from start to finish. Following these steps closely will help you avoid the most common pitfalls.
1. Printing Your Design
Start by printing your design onto the DTF film using a DTF printer. Ensure your printer is well-maintained and the ink levels are sufficient. For best results, use a high-quality DTF ink that is compatible with your printer. Print in high-quality mode to get crisp details. Remember that the image will be mirrored when printed, so double-check your design orientation before printing.
2. Applying the Powder
While the ink is still wet, sprinkle the adhesive powder generously over the printed area. You want an even coat that covers all the ink. Gently shake the film to distribute the powder, then tap off the excess. Be careful not to inhale the powder; it's best to wear a mask and work in a well-ventilated area. For fine details, you can use a small sieve to apply the powder more precisely.
3. Curing the Powder
Now you need to melt the powder. You can use a heat press or a dedicated curing oven. Set your heat press to around 350°F (175°C) and press the film for about 10-15 seconds with light pressure. The powder should melt and become shiny. Avoid over-curing, as this can make the transfer brittle. If you're using an oven, follow the manufacturer's guidelines for temperature and time.
4. Pressing the Transfer
Once cured, your transfer is ready to be applied. Preheat your heat press to 300-320°F (150-160°C). Place the garment on the press, and then place the transfer on top with the film side up. Press with medium-heavy pressure for 10-15 seconds. For cold-peel film, remove the garment from the press and let it cool completely before peeling off the film. For hot-peel, peel immediately while still warm. Always use a Teflon sheet or parchment paper between the press and the transfer to protect your equipment.
5. Post-Pressing (Optional)
For added durability, especially on stretchy fabrics, you can do a second press after peeling. Use a Teflon sheet and press for another 5-10 seconds. This helps the adhesive fully bond with the fibers. Avoid pressing directly on the transfer without a protective sheet, as the ink can stick to the press.
Troubleshooting Common DTF Issues
Even with the best practices, things can go wrong. Here are some common problems and how to fix them.
Problem: The transfer peels off after washing
This is usually due to insufficient pressure during pressing or under-curing of the powder. Make sure your press is applying even pressure across the entire transfer. Check that the powder is fully melted and shiny before pressing. Also, ensure the garment is clean and dry before pressing.
Problem: The design looks faded or cracked
Fading can occur if the ink is old or if the transfer was overheated during pressing. Cracking often happens if the film was peeled too early (for cold-peel) or if the powder layer is too thick. Try using finer powder and ensure you follow the correct peel method.
Problem: The powder doesn't stick to the ink
This can happen if the ink is too dry before powdering. Work quickly after printing to apply the powder while the ink is still wet. If your environment is very dry, you might need to increase humidity or use a humidifier.
Finding Quality Supplies and Services
As you progress, you'll want reliable sources for your DTF materials. Searching for dtf transfers near me can help you find local suppliers who can provide fast turnaround and personalized support. Whether you're looking for film, powder, or even ready-to-press transfers, establishing a relationship with a local vendor can save you time and shipping costs. Additionally, many online communities share reviews and recommendations, so don't hesitate to ask for advice.
Frequently Asked Questions
What fabrics work best with DTF transfers?
DTF works on a wide range of fabrics, including cotton, polyester, blends, and even some nylons. It's not recommended for fabrics with a heavy texture or coatings, as the adhesive may not bond properly. Always test on a scrap piece first.
How long do DTF transfers last?
With proper application and care, DTF transfers can last as long as the garment itself. Wash inside out in cold water and avoid harsh detergents and high heat in the dryer to maximize longevity.
Can I use DTF on dark colors?
Absolutely! DTF transfers are opaque and show up vibrantly on both light and dark fabrics. The white ink layer in the transfer ensures the colors pop, regardless of the garment color.
Do I need a special printer for DTF?
Yes, you need a DTF printer that uses DTF inks. Converted inkjet printers can work, but dedicated DTF printers are recommended for consistent results. Alternatively, you can purchase pre-printed transfers from a supplier.
How do I store DTF transfers?
Store unused transfers in a cool, dry place, away from direct sunlight. Keep them flat to avoid creasing. Once applied, the garment should be cared for as mentioned above.