
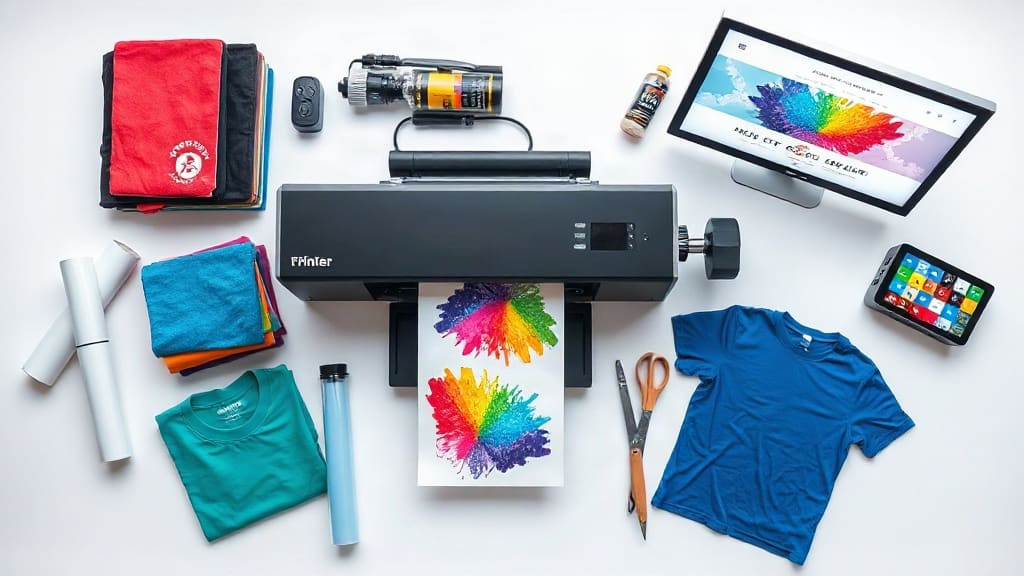
DTF transfers have revolutionized the custom apparel industry, offering a versatile and vibrant printing method that works on a wide range of fabrics. Whether you're a small business owner looking to expand your product line or a DIY enthusiast eager to create personalized gifts, understanding this technology can open doors to endless possibilities. In this guide, we'll explore the ins and outs of DTF transfers, from the basics to advanced tips, ensuring you have the knowledge to produce stunning prints every time.
What Are DTF Transfers?
DTF (Direct to Film) transfers are a printing technique where a design is printed onto a special film using a DTF printer and then transferred onto fabric using a heat press. Unlike traditional methods like screen printing or heat transfer vinyl, DTF allows for high-detail, full-color prints without the need for weeding or complex setups. The process involves printing a mirror image of the design onto the film, applying adhesive powder, curing it, and then pressing it onto the garment.
The Growing Popularity of DTF
Over the past few years, DTF has become a favorite among custom apparel businesses because of its efficiency and quality. Unlike DTG (Direct to Garment) printing, which requires pretreating the fabric and can be slow for bulk orders, DTF transfers can be produced in batches and applied quickly. This makes them ideal for small batches and on-demand printing, reducing inventory costs and waste.
How Do DTF Transfers Work?
To understand DTF transfers fully, it's essential to break down the process into clear steps. This will help you appreciate the technology and troubleshoot any issues you might encounter. Here's a simple overview:
- Design Creation: Your artwork is prepared using graphic design software. Remember to mirror the design horizontally, as it will be transferred in reverse.
- Printing: The design is printed onto a special PET film using a DTF printer equipped with white ink. The white layer is crucial for ensuring opacity on dark fabrics.
- Adhesive Application: While the ink is still wet, a hot-melt adhesive powder is applied to the printed side. This powder sticks to the ink and later acts as the bonding agent.
- Curing: The film is passed through a dryer or heat source to melt and set the adhesive powder.
- Transfer: The cured film is placed on the fabric, and a heat press is used to apply heat and pressure for a specific time, typically 15-20 seconds at 320°F.
- Peeling: After cooling slightly, the film is peeled away, leaving the vibrant design permanently bonded to the fabric.
Key Differences from Other Methods
While there are several other printing methods, DTF stands out for several reasons. Compared to screen printing, DTF offers easier color matching and no setup fees, making it economical for low quantities. When compared to vinyl, DTF allows for softer hand feel and finer details, without the tedious weeding process. And unlike sublimation, DTF works on cotton and dark fabrics, expanding your product range.
What Can You Print with DTF Transfers?
One of the most appealing aspects of DTF transfers is their versatility. You can apply them to almost any fabric, including cotton, polyester, blends, and even denim. This opens up a wide array of products you can customize:
- T-shirts, hoodies, and sweatshirts
- Tote bags and backpacks
- Pillowcases and aprons
- Sports uniforms and hats
- Custom masks and accessories
The ability to print on dark and light fabrics alike, with vibrant colors and white details, makes DTF a go-to for apparel decorators.
Practical Applications for Businesses
For entrepreneurs, DTF transfers offer a low-cost entry into custom apparel. You can start with a small investment in a printer and heat press, then produce items on demand. This is perfect for online stores, print-on-demand services, and local shops. Moreover, because you can store printed films, you can pre-produce popular designs and apply them as orders come in, streamlining your workflow.
Why Choose DTF Transfers?
There are many reasons why DTF transfers have become the preferred method for many small businesses and designers. Let's delve into the benefits that make this technology stand out.
Exceptional Durability
DTF prints are known for their durability. They can withstand repeated washing and stretching without cracking or peeling, as long as the transfer is applied correctly. This is a crucial factor for customer satisfaction and repeat business.
Vibrant Colors and Detail
Because DTF uses a CMYK+White printing process, you can achieve bright, bold colors with crisp details. Even gradients and subtle shades are reproduced accurately, making it perfect for logos, photographs, and intricate designs.
Cost-Effective for Small Runs
If you're looking to produce small quantities, DTF is more affordable than screen printing, which often has high setup costs. You can print a single item at a reasonable price, making it ideal for custom orders and test markets.
Ease of Use
Operating a DTF printer is relatively straightforward, especially with user-friendly software and automated features. Once you master the basics, you can produce professional-looking prints in a short time.
How to Get Started with DTF Transfers
If you're ready to dive into the world of DTF, here's a step-by-step guide to help you set up your own printing station.
Choosing the Right Equipment
The core components you'll need include a DTF printer, which can be a modified Epson or a dedicated model, and a heat press. Additionally, you'll need PET films, DTF inks, and adhesive powder. Investing in a quality printer with reliable ink delivery is essential for consistent results.
Selecting Materials
When purchasing supplies, choose high-quality films and inks designed for DTF. The film must have a coating that holds the ink and releases it cleanly during transfer. Similarly, the adhesive powder should be fine and evenly distributed to ensure strong bonding.
Setting Up Your Workspace
Ensure your workspace is well-ventilated and has enough room for your printer, heat press, and a curing oven or dryer. A clean, dust-free environment is crucial to avoid contamination on the film.
Mastering the Transfer Process
Practice is key. Start with simple designs and test on different fabrics to understand how they react. Pay attention to temperature and pressure settings, as these can vary based on the material. Keep a log of your settings for future reference.
Tips for Perfect DTF Transfers
Even with the right equipment, small mistakes can ruin a print. Here are some professional tips to help you achieve flawless results every time.
Use High-Quality Files
The quality of your transfer depends heavily on the resolution of your design. Always use vector files or high-resolution PNGs (at least 300 DPI) to ensure sharp edges and smooth gradients.
Calibrate Your Printer Regularly
Printhead alignment and ink density can drift over time. Perform regular maintenance and nozzle checks to avoid banding or color inconsistencies.
Press with the Right Pressure
Too little pressure can result in incomplete adhesion, while too much can cause bleeding or ghosting. Adjust the pressure knob on your heat press to achieve a firm but not excessive force.
Peel When Slightly Warm
After pressing, let the film cool for a few seconds before peeling. This allows the adhesive to set properly. Hot peeling can sometimes pull ink away, while cold peeling might be difficult. Experiment to find the sweet spot.
Common Mistakes to Avoid
Beginners often encounter similar pitfalls. Being aware of these can save you time and material.
Incorrect Mirroring
If you forget to mirror your design, the transfer will appear backwards. Always double-check before printing.
Over or Under Curing the Adhesive
Curing the adhesive powder at the right temperature and time is critical. Under-curing leads to weak adhesion, while over-curing can cause the powder to melt too much and bleed through the fabric.
Using the Wrong Heat Settings
Different fabrics have different heat tolerances. For instance, polyester can scorch at high temperatures, while cotton can withstand more. Always test on a scrap piece first.
Ignoring Moisture
Moisture in the film or fabric can cause issues. Store films in a dry place and ensure garments are completely dry before pressing.
Frequently Asked Questions
Can DTF transfers be used on any fabric?
Yes, DTF transfers work on most fabrics, including cotton, polyester, blends, and even leather-like materials. However, the pressing time and temperature may need adjustment for different materials. Always test a small area first.
How long do DTF prints last?
With proper application and care, DTF prints can last as long as the garment itself. They are resistant to washing, stretching, and scratching. To maximize longevity, wash inside out and avoid harsh detergents.
Do I need a special printer for DTF?
Yes, DTF requires a printer that can handle white ink and films. While you can convert some desktop printers, it's best to invest in a purpose-built DTF printer to avoid frequent clogs and ensure quality.
Can I use DTF transfers on dark shirts?
Absolutely. The white ink layer in DTF printing ensures that colors remain vibrant even on dark fabrics. This is a major advantage over sublimation, which only works on white or light-colored polyester.
Is DTF printing eco-friendly?
Compared to screen printing, DTF uses less water and produces fewer chemical waste. However, the films are plastic-based, so disposal is a consideration. Some companies offer recyclable films, and water-based inks are available for a more sustainable option.
Conclusion
DTF transfers offer an incredible opportunity for anyone interested in custom printing. Their versatility, durability, and ease of use make them a top choice for small businesses and hobbyists alike. By following the tips and guidelines in this article, you'll be well on your way to producing high-quality, professional-looking prints. So, why wait? Start experimenting with DTF and unlock your creative potential today!